AKTAKOM AMM-1063 is ideal for electrical trouble shooting, which can check components (resistance, capacitance, diode and continuity) and circuit fault. All inputs are protected to EN 610101-1 CATIII 600V.
Features
- Automatic DCV or ACV selection, Capacitance, Resistance, Continuity and diode selection
- 6000 counts LCD display
- Auto/manual ranging
- Data Hold/MAX/MIN recording mode
- Auto Power Off: this function can't be disabled
- Wide capacitance range
- Diode Check & Continuity Test
Specifications
|
Function
|
Ranges
|
Basic Accuracy
|
|
Voltage DC
|
600.0mV, 6.000V, 60.00V, 600.0V
|
±(1.2%+5d)
|
|
Voltage AC (50...400Hz)
|
600.0mV (50/60Hz), 6.000V, 60.00V, 600.0V
|
±(1.5%+3d)
|
|
Current DC
|
60.00mA, 600.0mA
|
±(1.5%+5d)
|
|
Current AC (50...400Hz)
|
60.00mA, 600.0mA
|
±(2.0%+5d)
|
|
Resistance (manual/auto scan)
|
600.0Ω, 6.000kΩ, 60.00kΩ, 600.0kΩ, 6.000Ω +60.00MΩ (manual only)
|
±(1.0%+2d)
|
|
Capacitance (manual/auto scan)
|
6.000nF, 60.00nF, 600.0nF, 6.000μF, 60.00μF, 600.0μF, 6.000mF +10.00mF (manual only)
|
±(3.0%+5d)
|
Diod test
|
Open: 2V / Resolution: 0.1V / Beeper: <30mV / Test current: 0.3mA
|
±(10%+5d)
|
Continuity
|
Audible threshold: <30Ω / Test current: <0.3mA
|
-
|
Size: 9.1×1.4×0.8in/230×35×20mm
Weight: 7.1oz/200g
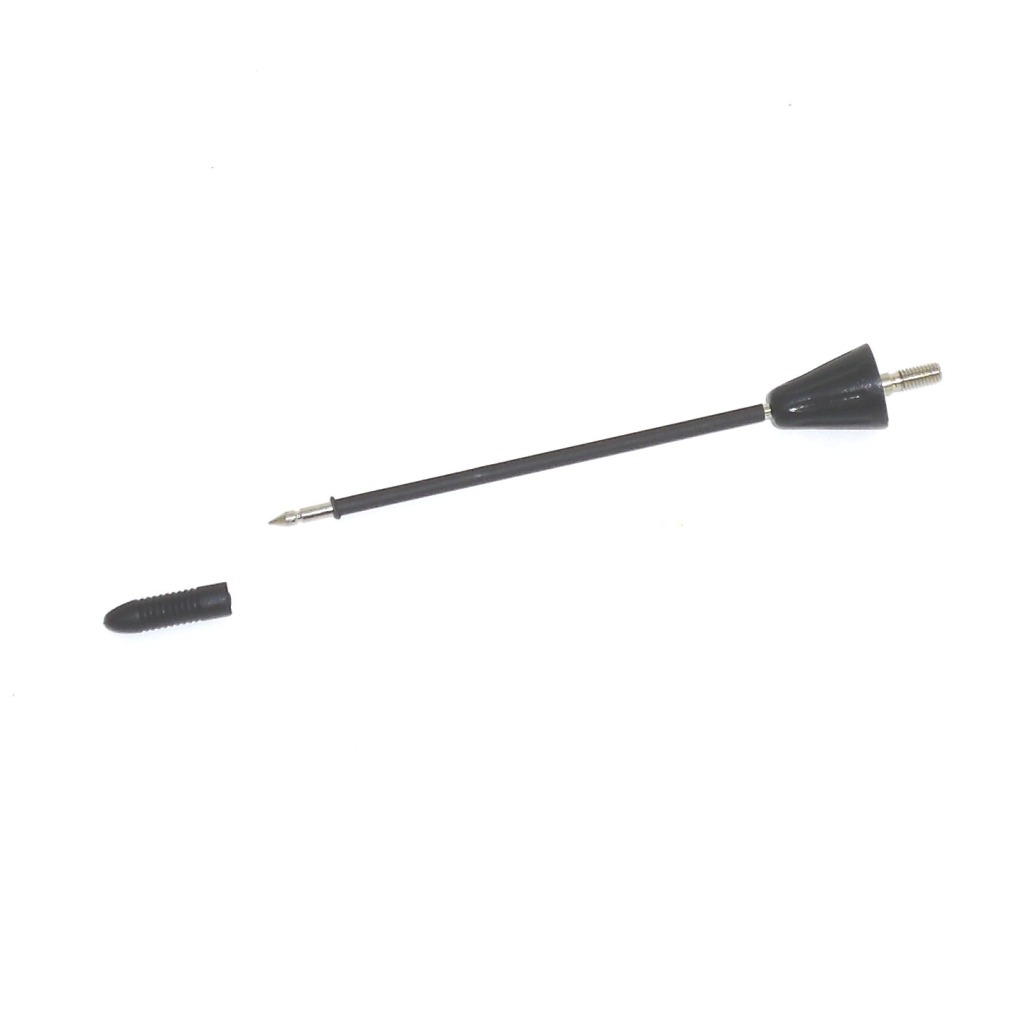
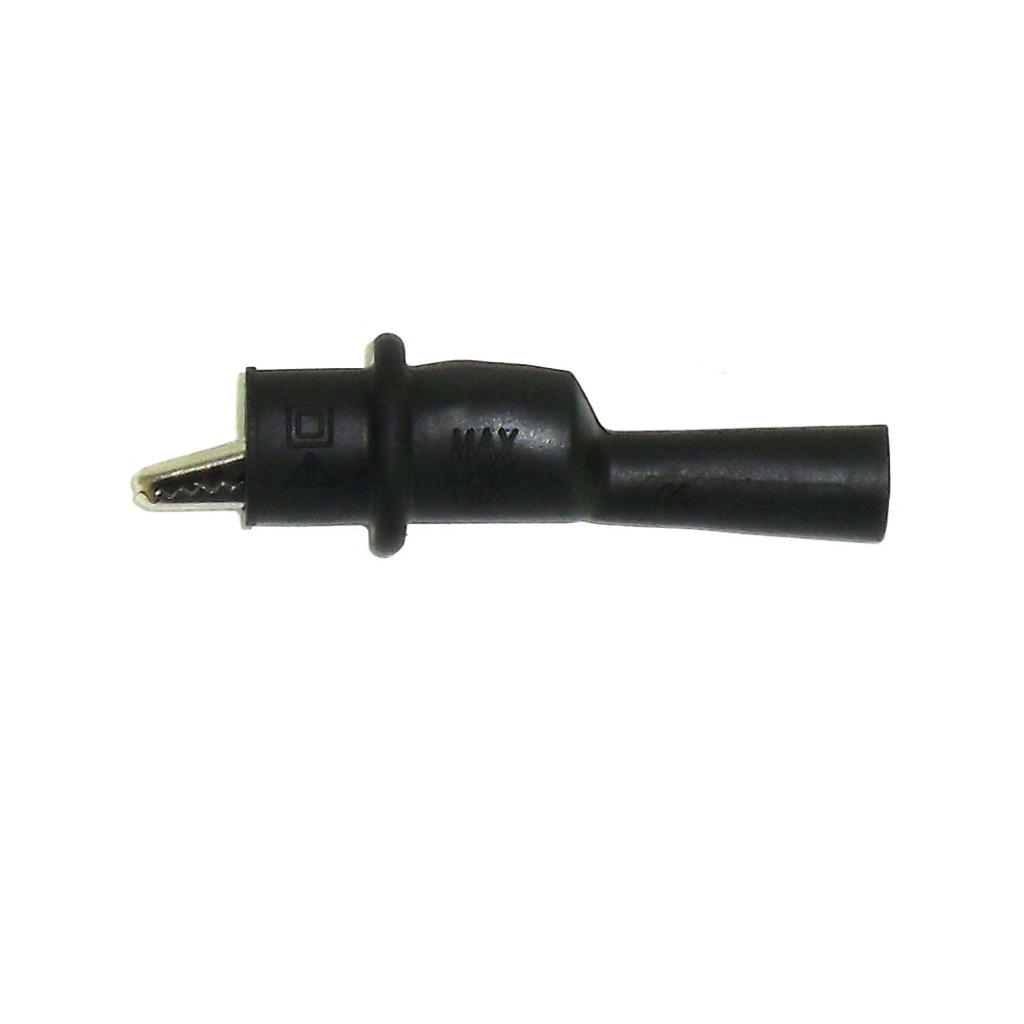
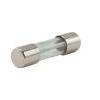
Accessories
1. Probe tip (clamshell)
2. Crocodile clip
3. Fuse
2. Button batteries

AC Current Measurement
Warning: To avoid electric shock, do not measure AC current on any circuit whose voltage exceeds 250V AC.
- Set the function switch to the mA or A DC/AC position
- Press SEL key to select the auto scan mode or the mA or A AC mode
- Remove power from the circuit under test then open up the circuit at the point where you wish to measure current
- Touch the negative test probe tip to the negative side of the circuit
- Touch the positive test probe tip to the positive side of the circuit
- Apply power to the circuit
- Read the current in the display
- The display will indicate the proper decimal point, value and symbol.

DC Current Measurement
Caution: Do not make current measurements on the 10A scale for longer than 30 seconds. Exceeding 30 seconds may cause damage to the meter and/or the test leads.
- Set the function switch to the mA or A DC/AC position
- Press SEL key to select the auto scan mode or the mA or A DC mode
- Remove power from the circuit under test, then open up the circuit at the point where you wish to measure current
- Touch the negative test probe tip to the negative side of the circuit
- Touch the positive test probe tip to the positive side of the circuit
- Apply power to the circuit
- Read the current in the display
- The display will indicate the proper decimal point, value and symbol.

AC Voltage Measurement
Warning: Risk of Electrocution. The probe tips may not be long enough to contact the live parts inside some 240V outlets for appliances because the contacts are recessed deep in the outlets. As a result, the reading may show 0 volts when the outlet actually has voltage on it. Make sure the probe tips are touching the metal contacts inside the outlet before assuming that no voltage is present.
Caution: Do not measure AC voltages if a motor on the circuit is being switched ON or OFF. Large voltage surges may occur that can damage the meter.
- Set the function switch to the V DC/AC position
- Press MODE key to select the auto scan mode or the V AC mode
- Touch the test probe tips to the circuit under test
- Read the voltage in the display. The display will indicate the proper decimal point, value and symbol (AC, V, etc.).

DC Voltage Measurement
Caution: Do not measure DC voltages if a motor on the circuit is being switched ON or OFF. Large voltage surges may occur that can damage the meter
- Set the function switch to the V DC/AC position
- Press SEL key to select the auto scan mode or the V DC mode
- Touch the test probe tips to the circuit under test. Be sure to observe the correct polarity
- Read the voltage in the display. The display will indicate the proper decimal point and value. If the polarity is reversed the display will show (-) minus before the value.

Capacitance Measurements
Warning: To avoid electric shock, disconnect power to the unit under test and discharge all capacitors before taking any capacitance measurements. Remove the batteries and unplug the line cords.
- Set the function switch to the Ω

 cap position, and press SEL key to select the auto scan mode or capacitance mode.
- Touch the test probe tips across the circuit or part under test. It is best to disconnect one side of the part under test so the rest of the circuit will not interfere with the resistance reading.
- Read the capacitance in the display. The display will indicate the proper decimal point, value and symbol.
Note: In order to obtain an accurate reading, a capacitor must be discharge before measurement begins. The meter has a built-in discharge mode to automatically discharge the capacitor. In discharge mode, the LCD displays "DIS.C". Discharging through the meter is quite slow. We recommend users to discharge the capacitor with some other apparatus.

Resistance Measurements
Warning: To avoid electric shock, disconnect power to the unit under test and discharge all capacitors before taking any resistance measurements. Remove the batteries and unplug the line cords.
- Set the function switch to the Ω cap position, and press SEL key to select the auto scan mode or resistance mode.
- Touch the test probe tips across the circuit or part under test. It is best to disconnect one side of the part under test so the rest of the circuit will not interfere with the resistance reading.
- Read the resistance in the display. The display will indicate the proper decimal point, value and symbol.

Continuity Check
Warning: To avoid electric shock, never measure continuity on circuits or wires that have voltage on them.
- Set the function switch to the Ω cap position, and press SEL key to select the auto scan mode or continuity mode until the Symbol appears in the display.
- Touch the test probe tips to the circuit or wire you wish to check.
- lf the resistance is less than approximately 30Ω, the audible signal will sound. The display will also show the actual resistance.

Diode Test
Warning: To avoid electric shock, do not test any diode that has voltage on it.
- Set the function switch to the Ω cap position, and press MODE key To select the auto scan mode or diode mode until the symbol appears in the display.
- Touch the test probe tips to the diode or semiconductor junction you wish to test. Note the meter reading.
- Reverse the probe polarity by switching probe position. Note this reading.
- The diode or junction can be evaluated as follows:
A. lf one reading shows a value and the other reading shows OL, The diode is good.
B. lf both readings show OL, the device is open.
C. lf both readings are very small or 0, the device is shorted.
Note: The value indicated in the display during the diode check is the forward voltage.


