|
|||||
|
|
||||
|
|||||
|
|
||||
|
Search
Log in
|
ASE-1107 Soldering Station
AKTAKOM ASE-1107 soldering station is especially suitable for mounting and reworking SMD components by hand, soldering common and directly-inserted electronics or lead free soldering under other special conditions. Features
Specifications
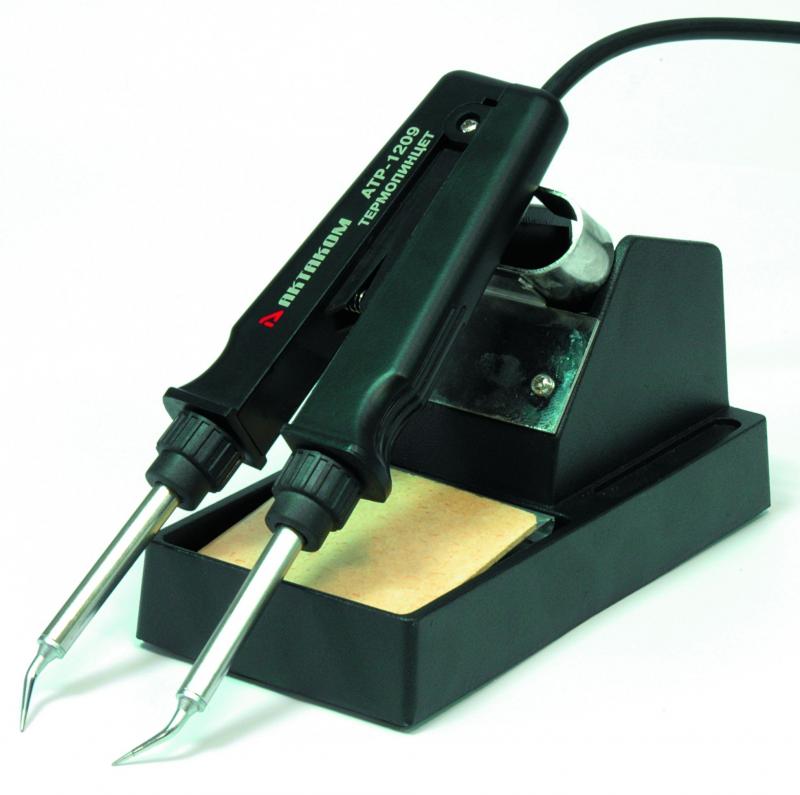
Optional AccessorySoldering Tweezers ASE-1209
Safety instructionsTake care of yourself!
Operation Instruction for ASE-1107 Soldering StationA. Iron Holder.1. Small Cleaning Sponge Dampen the small cleaning sponge with water and then squeeze it dry. Place it in one of the 4 openings of the iron holder base. 2. Add water to approximately the level as shown. The small sponge will absorb water to keep the larger sponge above it wet at all times. Note: The large sponge may be used alone (without small sponge & water). 3. Dampen the large cleaning sponge and place it on the iron holder base. B. Connections.1. Connect the cord assembly go the receptacle. 2. Place the soldering iron in the iron holder. 3. Plug the power cord into a power supply. Be sure to ground the unit. 4. Turn the power switch to on. The temperature is preset at 400℃ at the Factory. The heater lamp flickers when the temperature has stabilized. 5. Press the "*" button to display the preset temperature. It will be displayed for two seconds. C. Setting the Temperature.1. Insert the card into the card slot in the station. The left-most digit (the 100s digit) in the display will flash. This indicates that the station is in temperature setting mode and that the 100s digit can be adjusted. 2. Select the desired value for 100s digit. Using the «up» or «down» button will change displayed value as follows: 2↔3↔4 Press the "*" button when the desired value is displayed. This will cause the middle digit (the 10s digit) in the display begin flashing. 3. Select the desired value for the 10s digit. Using the "up" or "down buttons will change the displayed value as shown below: 0↔1↔2↔3↔4↔5↔6↔7↔8↔9↔0 Press the "*" button. The right (the 1s digit) will then begin flashing to indicate that the 1s digit can be set. 4. Select the desired value for the 1s digit. Using the «up» or «down» buttons will change the displayed value as shown above for the 10s place selection. Press the "*" button. Here, pressing the "*" button: a. enters the temperature setting into the internal memory. b. displays the temperature setting. c. starts heater control. Note: If you turn off the power switch during the temperature setting, setting value will not store in the memory. To change the temperature setting when the card is left in the station, refer to the followings.1. Push the "*" button and hold it down for at least one second. First the present temperature setting will be displayed, and then the 100s place digit will begin to flash. This flashing indicates that the temperature setting mode has been entered. After the flashing begins, proceed with the setting temperature. 2. If the "*" button is pressed for less than one second, the present temperature setting will be show for two seconds and then the display will return to showing the tip temperature. The card.1. After setting temperature, remove the card. The preset temperature cannot be changed until the card is reinserted, even if the power switch is turned off. This allows you: a. to turn the power off and on without having to reset the temperature each time. b. accurate and safe temperature control. 2. Any card can be used with any station. 3. Even of the card is left in the station, the soldering station will operate normally. If the power is turned off while the card is inserted, the soldering iron will heat to the preciously set temperature. Stacking Stations.For greater convenience and soldering efficiency, two stations can be securely stacked. Frequently Asked Questions
LED Repair Tutorial Part 4How to fix LED light fixture using AKTAKOM AM-1060 DMM, ASE-1209 Soldering Tweezers and APS-7306 Power SupplyASE-1107 Soldering tutorial. Part 1. Quick startASE-1107 Soldering Station with Optional Hot TweezersBack to the section |
|||||||||||||||||||||||||||||||||||||||||||||||||||||